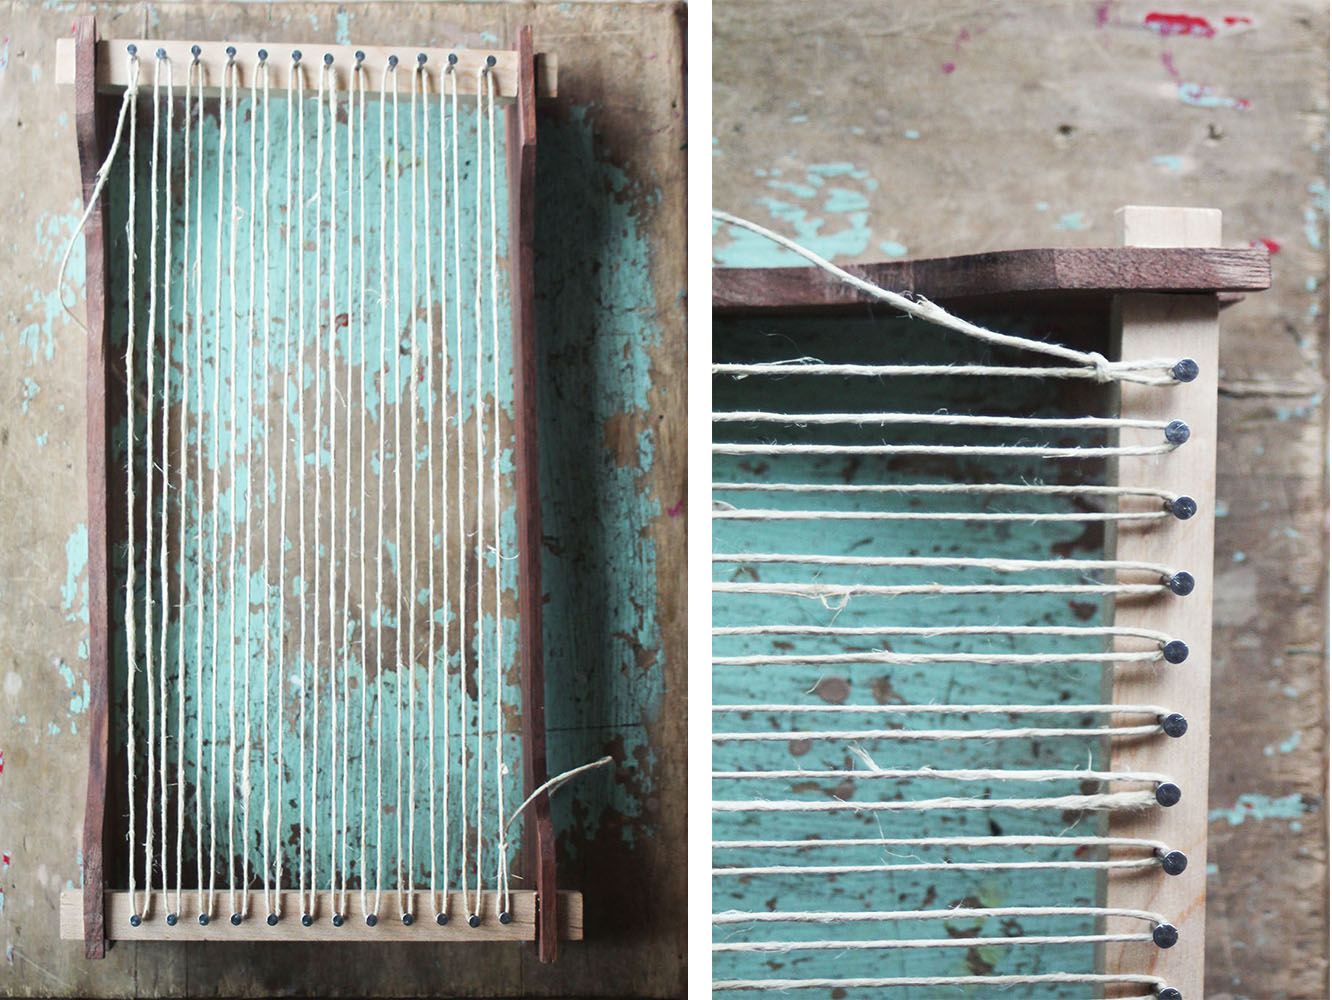
A weaving is made up of two sets of threads, the warp and the weft.
The word warp (from the Old English word, weorpan), means “that which is thrown across” and refers to the set of lengthwise yarns that are held in tension on a frame or loom.
When choosing a warp yarn, consider the strength of the fibers. Because the warp is held under tension throughout the process of weaving, warp yarn should be strong. Traditional yarn choices are wool, linen and silk, however, in more recent decades, cotton has also become a fine choice.

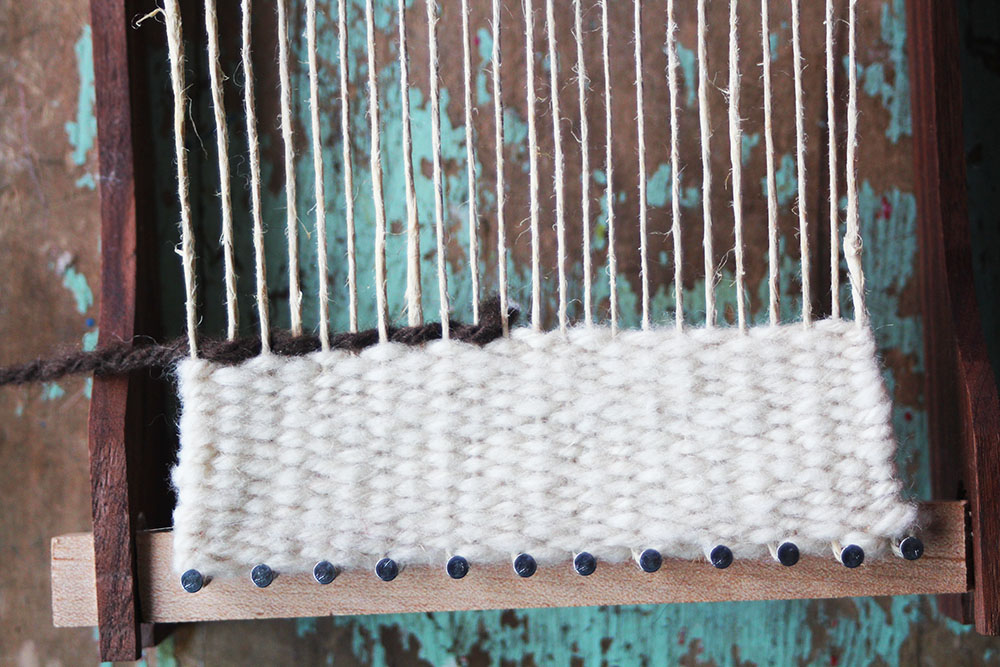
 The word weft (from the Old English word, wefan), means “to weave” and refers to the yarn which is drawn through the warp yarns to create cloth. This can be any yarn, fiber, ribbon, fabric, ANYTHING. Between the weft and the warp, the weft is typically the most visible of the two.
To weave, use a long needle to weave over, then under, over, then under each of the warp threads until you reach the other side. Pull the working weft yarn across the loom.
A weavers comb is a useful tool to help make the weft tight.
 When pulling the weft tight, be mindful of the tension. If pulled too tightly, it will cause the warp to pull in on the edges. The ends should remain slightly loose allowing the warp to lay flat without distorting the sides.

To begin a new yarn, weave the working yarn through half of the warp threads. Then, with the new yarn, begin where the previous yarn ended. Push any loose ends to the underside of the weaving.

 How to remove the weaving from the loom will depend on the type of loom being used. For this type loom, simply pull the weaving up over the nail heads.
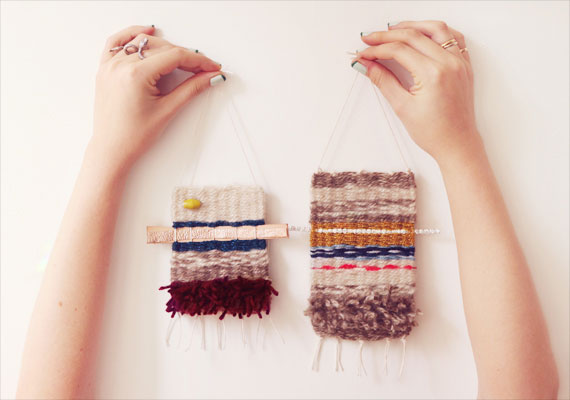
Once free from the loom, it is ready for finishing. There are a number of ways to finish the ends. One way is to whip stitch around the warp threads. To do this, lay the warp horizontally across the top of the weaving, folding the warp toward the center. Then, use a yarn needle to whip stitch over these threads. Once half-way across the top, begin folding the warp the opposite direction so that all of the ends are facing the center of the weaving. Do the same thing to the other end of the weaving, and it is ready to be displayed.
[] :: [] :: [] :: [] :: [] :: [] :: [] :: [] :: [] :: [] :: []
The loom used in this tutorial is a great little loom that is easily disassembled for travel. It is made from reclaimed exotic hardwoods, and is available in the shop!