
UPDATE 5/4/15: I apologize for the quality of these photos. I am currently working to rewrite this post with clearer images.
Creating a dream catcher is such a fun & meaningful project. They are a lot of fun and simple to make. This tutorial will show you how to do the webbing.
 Materials:
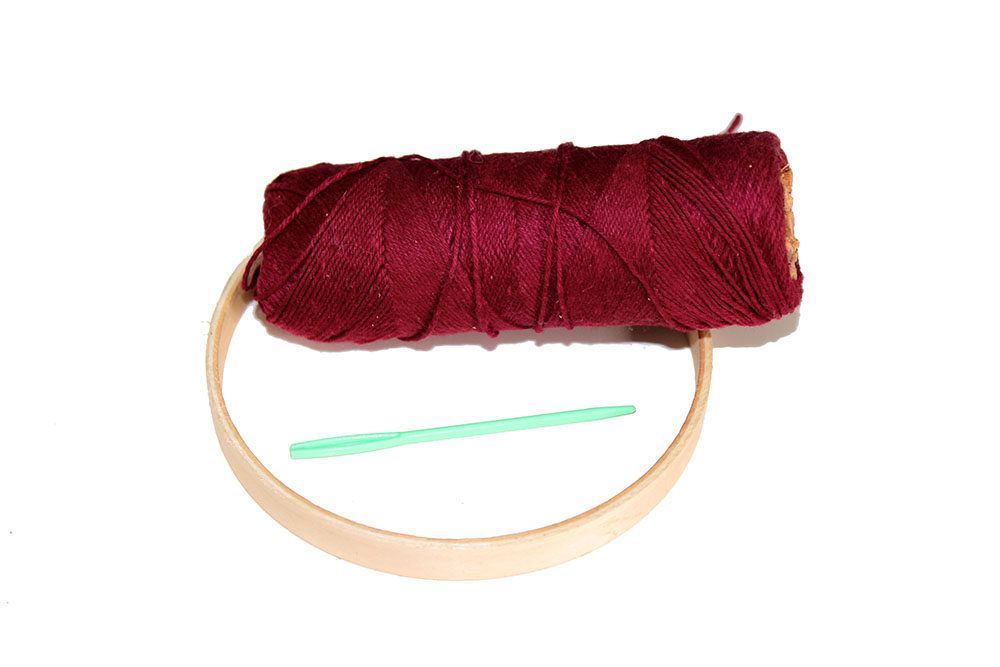
Hoop ~ this can be anything from the inside piece of an embroidery hoop (what I used for this demonstration), a metal ring, or a wreath.
String ~ any type of string can be used, cotton, hemp, yarn, wire . . .
Sewing needle can make the job a little easier, but it isn’t necessary for doing this project.
 1. First, tie the string to the hoop. Then, wrap the string around the hoop as shown. You want the string to wrap around it’s self to help hold it in place. I didn’t do this on my first dream catcher & I found it difficult to maintain the tension that I wanted on each stitch.
2. Work your way around the hoop. Keep in mind the more stitches you have around the loop, the smaller the stitches will be. This is neither good nor bad, but just a different look.
3. Now, you are going to work your way around the hoop a second time. This time, you want to place your stitch on the section of sting between the first stitch and theplace where you tied the string on.
4. Continue working your way around the hoop making stitches between the stitches of the previous round. Look at the arrows on image 3.
5. Keep going around the hoop making stitches between the two stitches above it until you can’t go any further or you decide you are done. Tie the string in place. You may want to use a tiny dab of glue or clear fingernail polish to help secure the knot.
 There are several ways to get creative with the webbing. Here you can see the difference having more or less stitches around the hoop. You can also add tiny beads anywhere you like by threading it onto the string & holding it in place as you work the next stitch. Another idea is to switch colors as you go.
From here the possibilities are endless. Try wrapping strips of leather, or fabric around the hoop, or painting the hoop. Tie different ribbons, & yarns onto the bottom & sides. Tie feathers, stones, sticks, dried flowers, charms, anything to the ribbons.
[] :: [] :: [] :: [] :: [] :: [] :: [] :: [] :: [] :: []
Dream Catcher Kits are now available in my shop!

Thank You
Thank You
[…] Intricate Dream Catcher Weaving; Dream Catchers look so hard, don’t they? Hopefully this will clear it up for you. I’m definitely going to have to try this. […]