
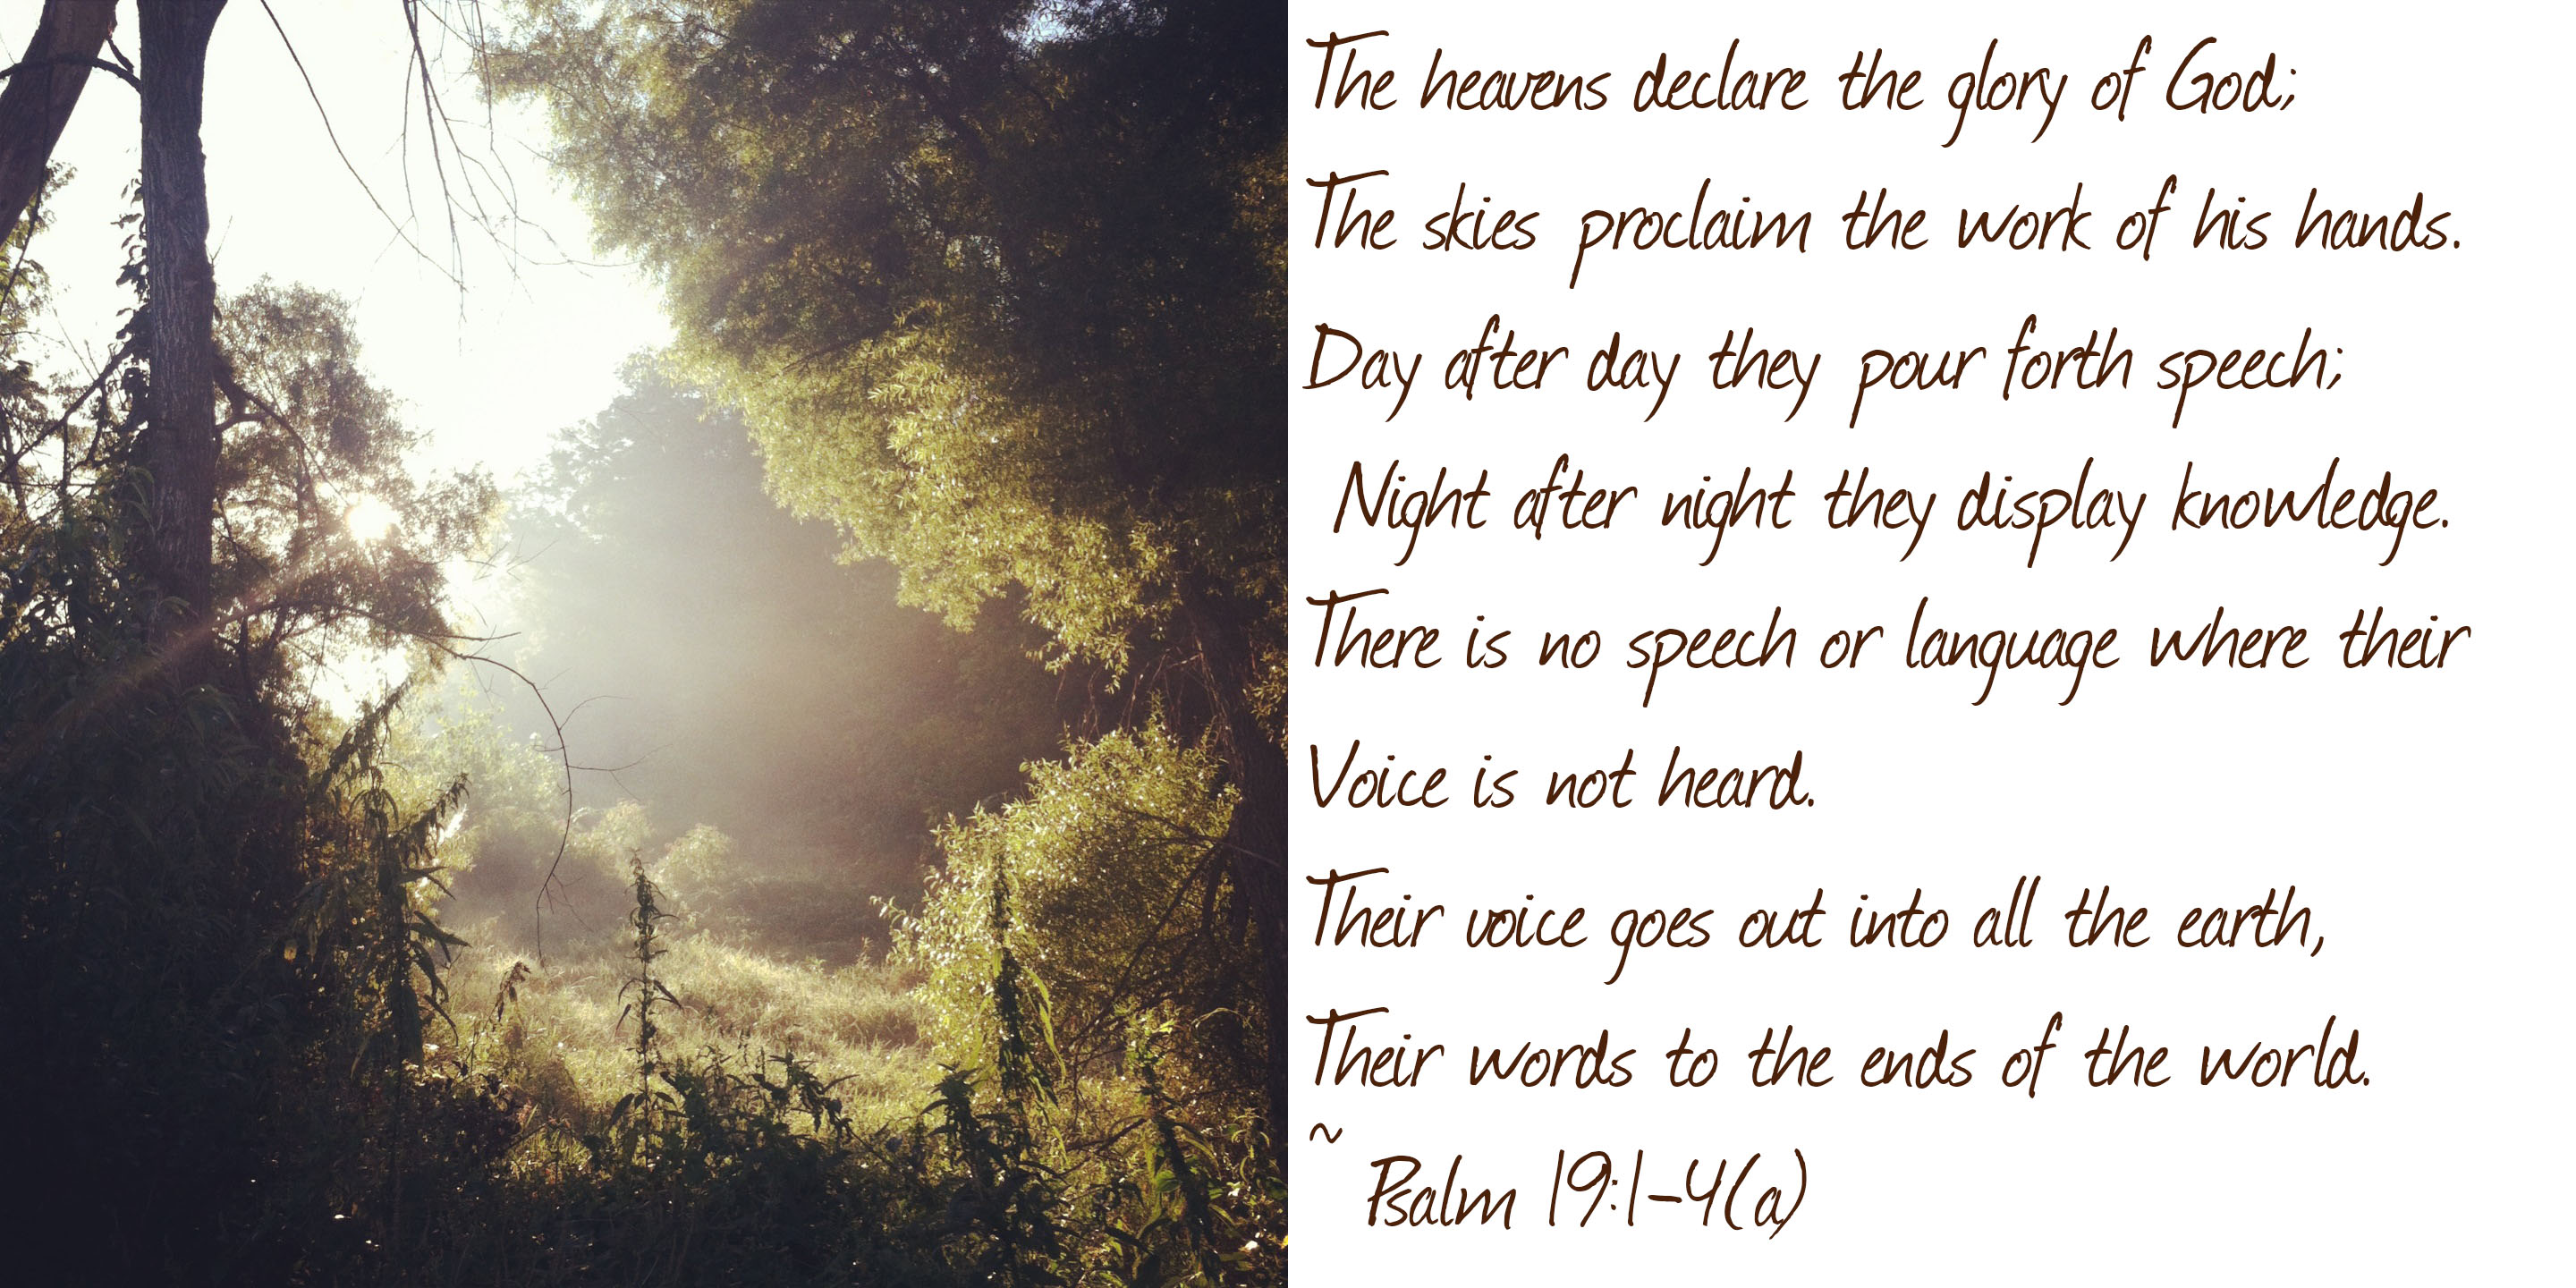
 This is one of my favorite Bible verses. I am especially in awe over the last section. God’s creation proclaims His glory to the ends of the earth. Let’s replace the word creation with artwork, and we learn that God’s artwork, transcends all languages so that ALL can hear it’s message! A piece of art can speak to the heart of a person from any tribe or nation. Art knows NO language barrier.
Color Scouting: Thistle Blossom
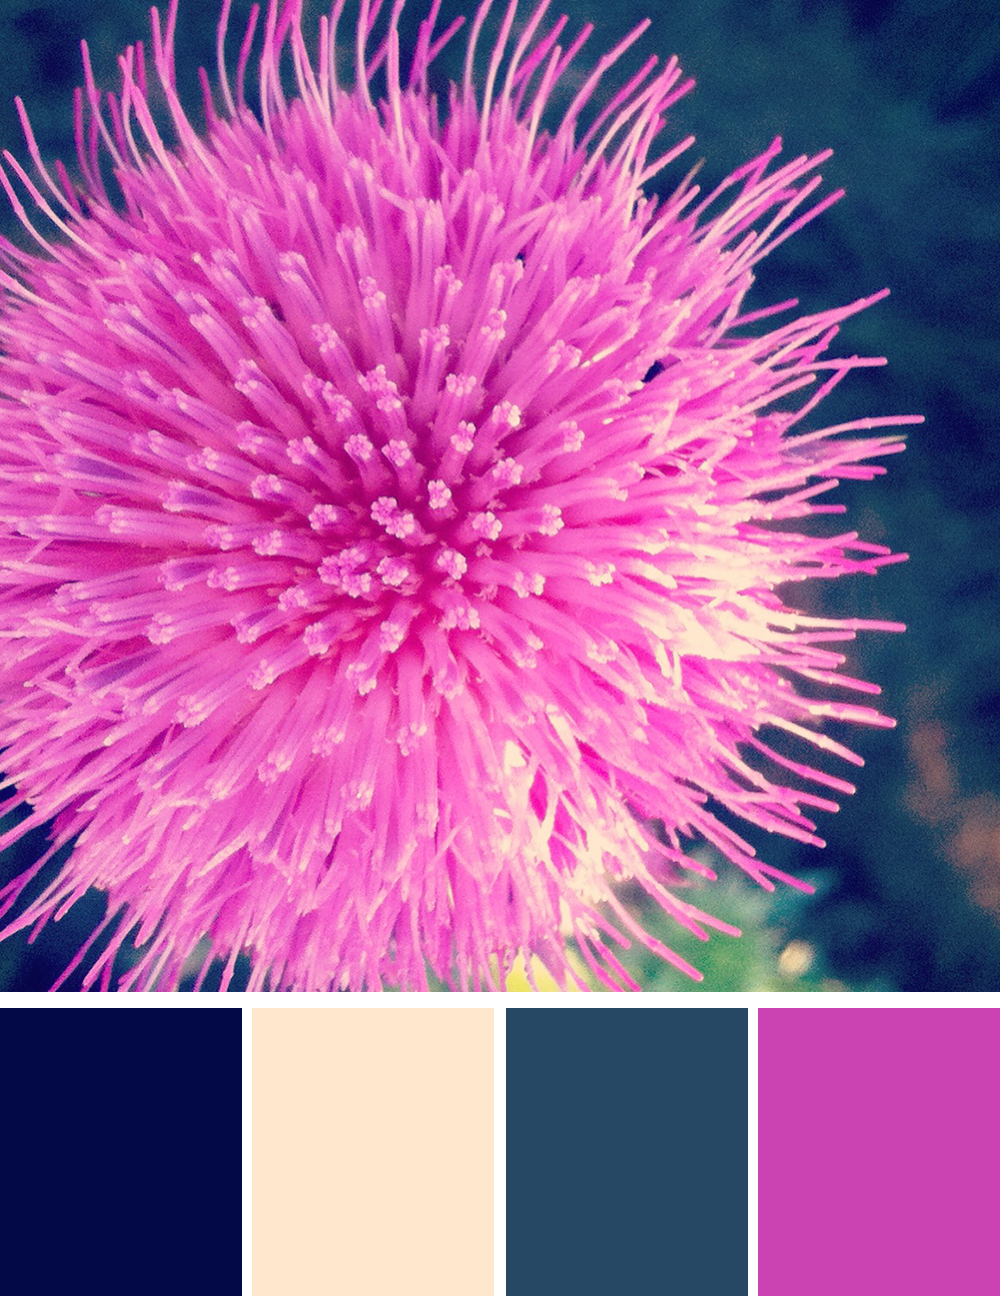
Today, I have a bonus color scheme for you to enjoy. This little thistle plant was quite photogenic!

What is color scouting?
Zinnias
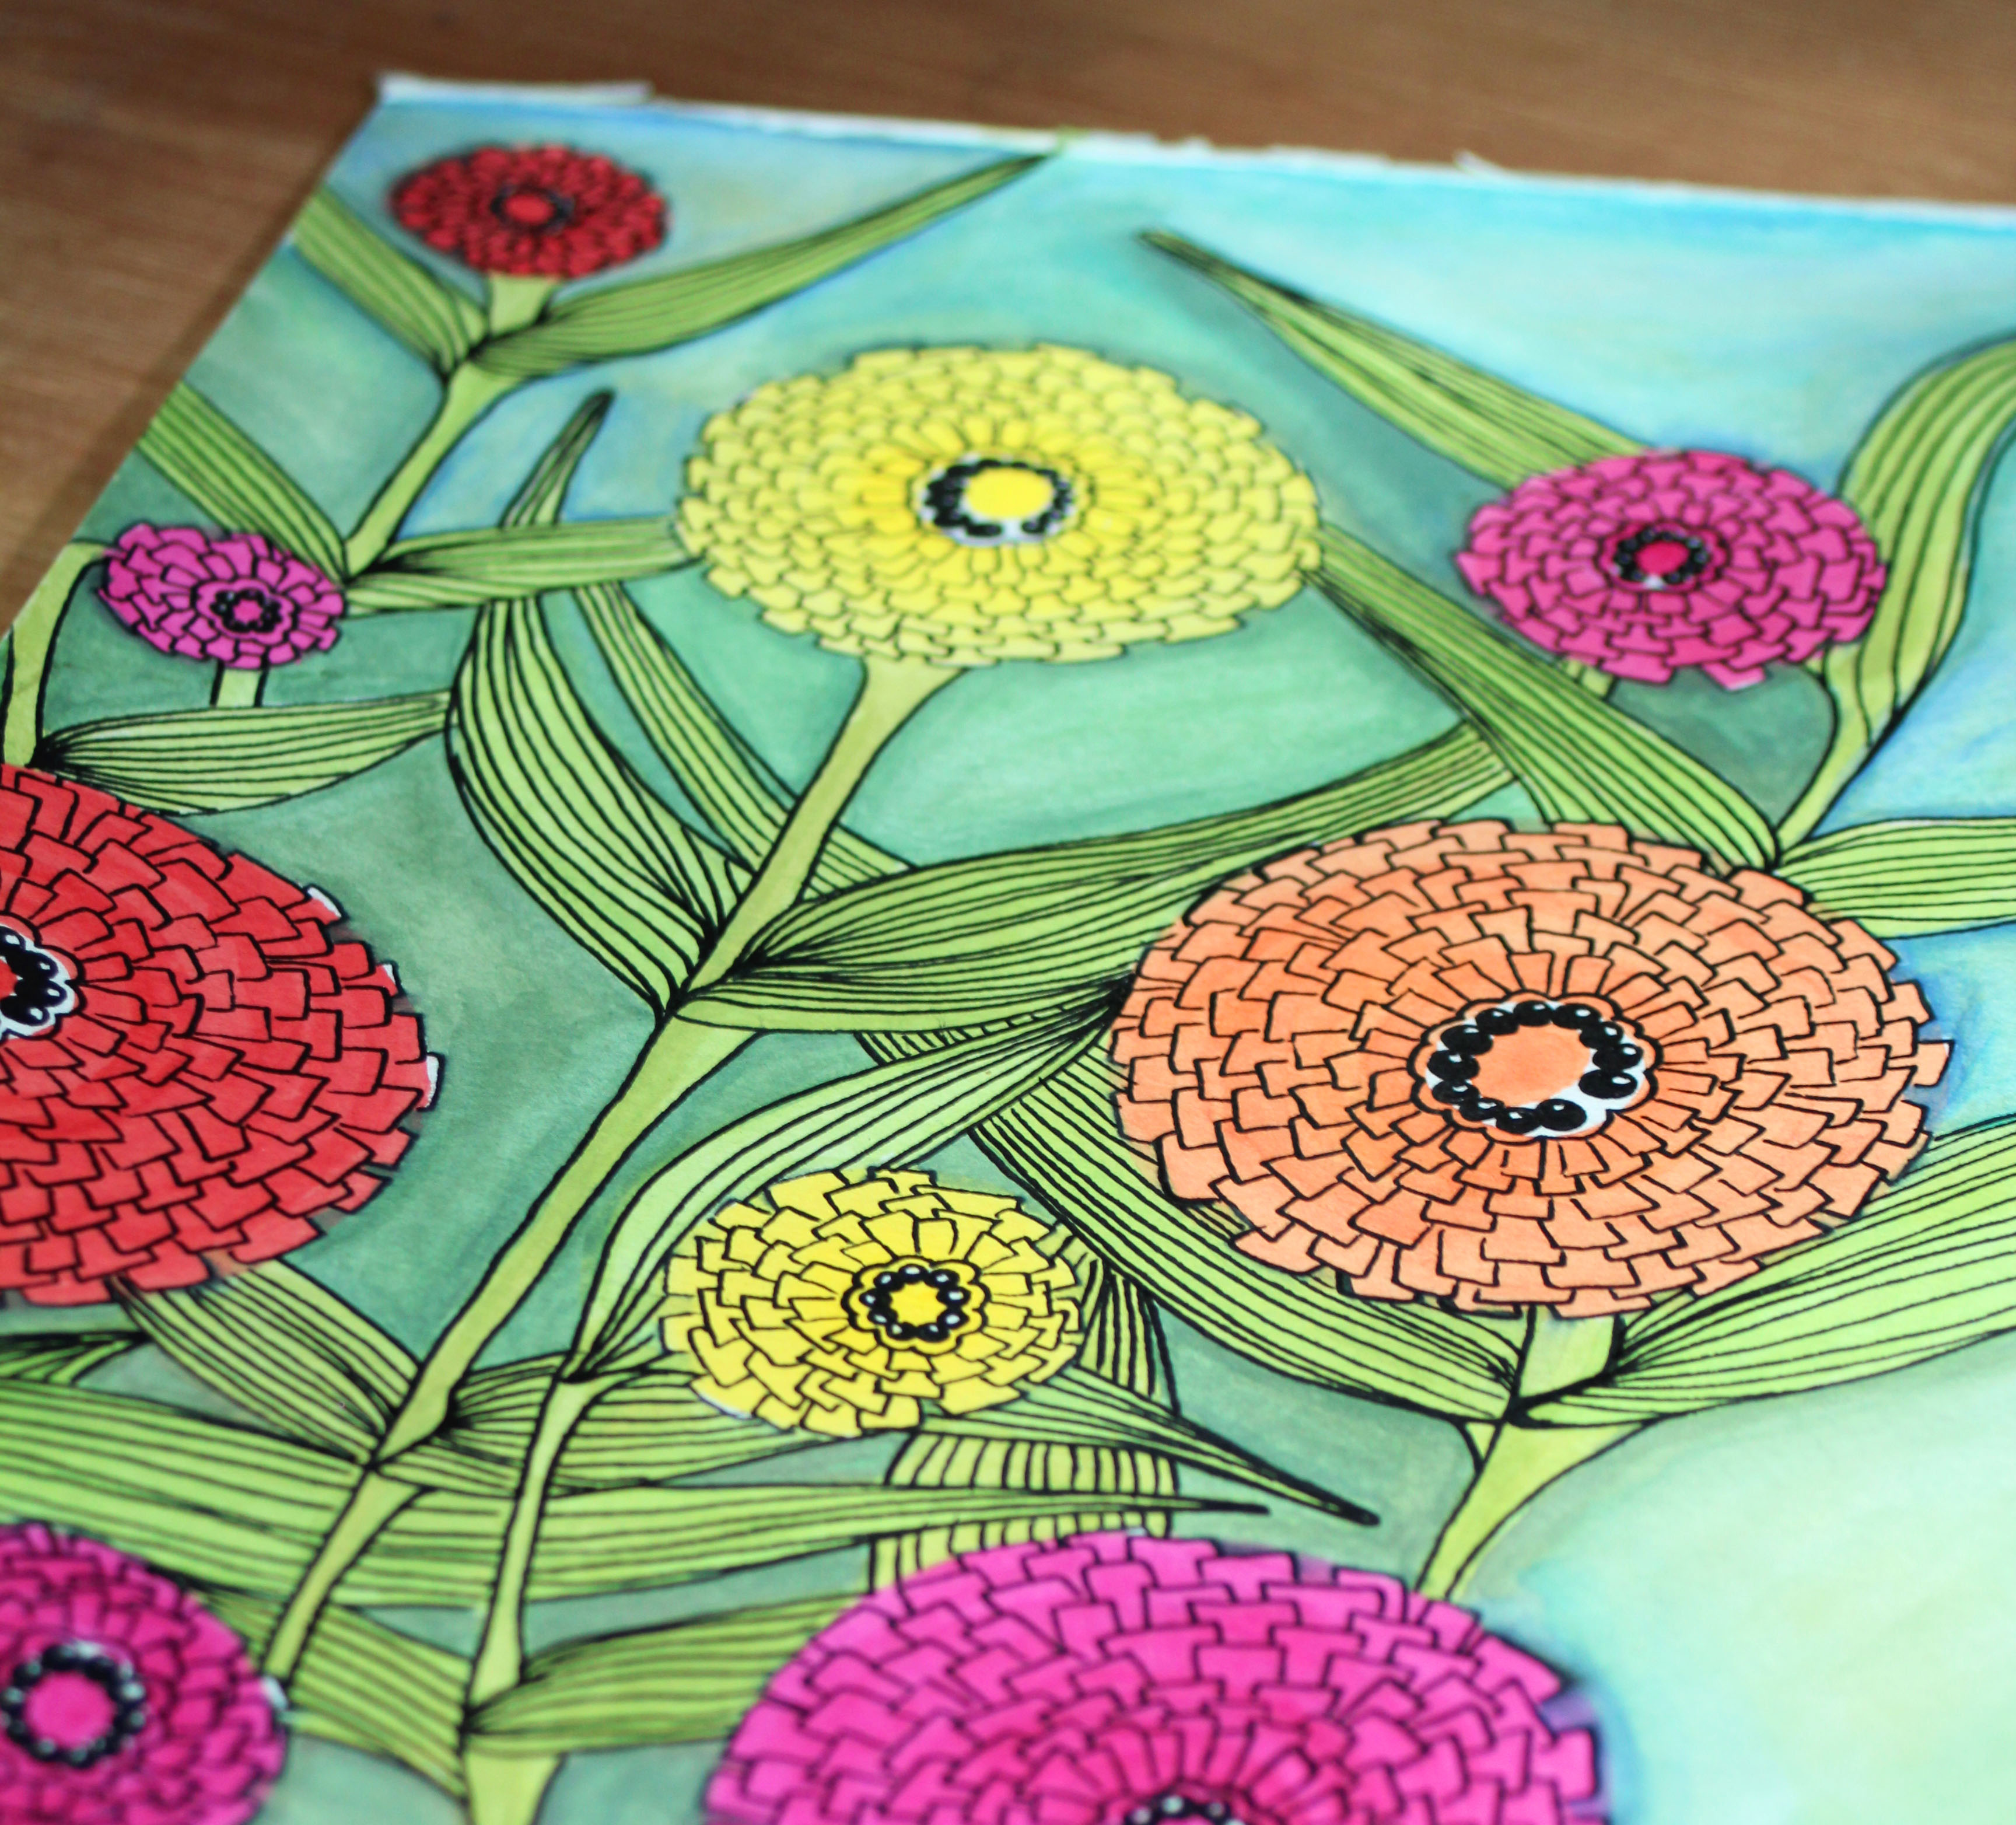 I went to the Calendar Garden to paint with the kids. There were a lot of beautiful zinnias in bloom.
Color Scouting: Bee Hive
What is color scouting?
A quote from John Muir

Color Scouting: Orange Sunset
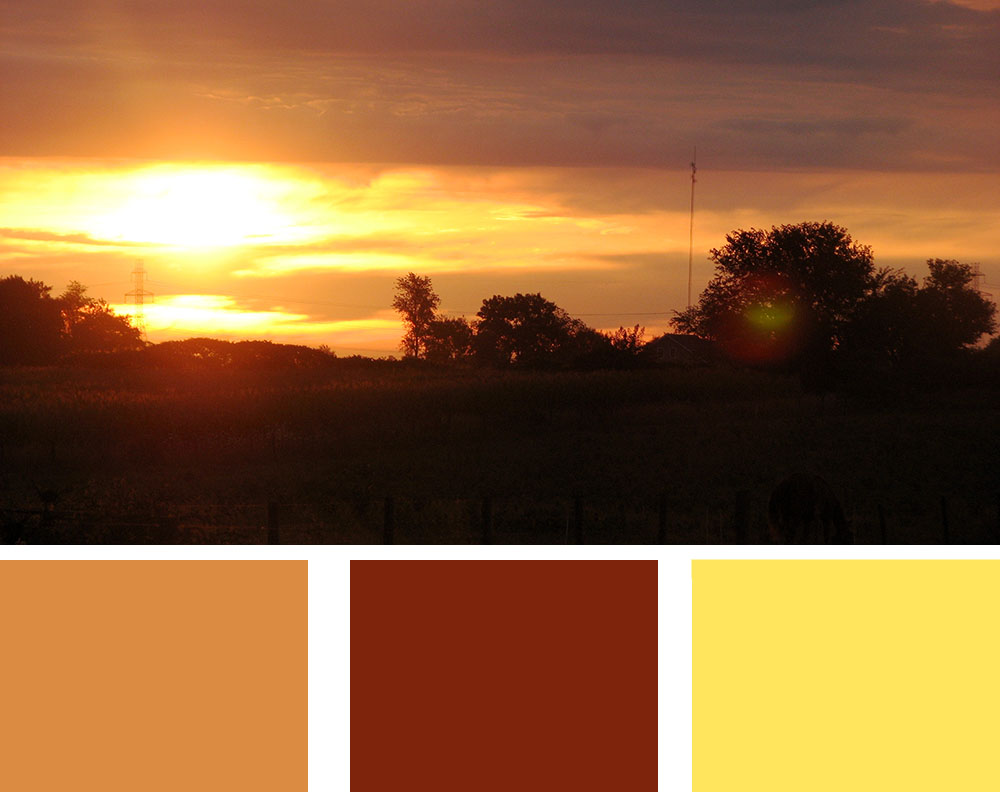
What is color scouting?
Woodcut Relief Prints
 Artist Bryan Nash Gill is making relief prints from the cross-sections of trees. The results are amazing and inspirational.
 The artist begins by selecting a specimen from an old mill that is located next to his studio. The wood is then prepared for print making. The surface of the wood is covered with ink. A sheet of handcrafted washi paper is laid across the surface, and using a laborious rubbing technique developed by the artist himself, the texture of the wood is transferred.
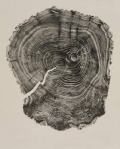
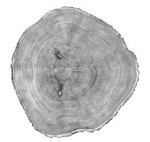
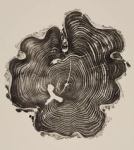
His artwork is currently on display at the Chicago Botanical Garden, Chicago, Illinois

Color Scouting: Green Truck in Seward

What is color scouting?
Snake Grass Weaving
This is a great project to do with kids while camping!

Materials
Snake grass likes a lot of moisture, so look for it near wet areas like creeks, rivers, lakes, ponds, and marshes. You will only need one long one that has at least 3 sections to it.
Yarn
Scissors
Yarn needle (optional)
1. Find a strong reed of snake grass and take it apart into it’s sections. Make sure that it is big enough to fit the yarn inside.
2. The center of each section has a small “plug”. I was able to use my scissors to scrape it out. You could also use, a yarn needle or even a small piece of driftwood. You’ll find that each section also tapers a little where it joined the section below it. I used my scissors to cut of this section making it easier to slide up and down my yarn.
3. Decide how wide you want your weaving to be. The more strands that you have, the wider the weaving will be. Cut the yarn to the desired length and tie all the strands together. Thread each strand of yarn through one section of snake grass.
4. Tie the working yarn to the last strand, and begin weaving. When you are running out of snake grass, simply slide each section down to provide more work space.
When you have finished, pull the snake grass off and tie the ends together. I just used one big knot to finish, but if you are doing a wider weaving, you may want to do several smaller knots across the bottom.
Have fun!
Color Scouting: Cottage

I didn’t take this photo. I stumbled upon it on Pintrest & was instantly smitten with the colors. I couldn’t resist sharing it with you here on Color Scouting.
What is color scouting?
