 We have one of those advent calendars where you open a different door for each day of advent, so every year, I am trying to find creative ways to fill each space in a way that won’t matter if my children open all the doors on the first day of advent. One method I have come up with is to seal each days activity in it’s own decorative capsule. Here is how I make the capsules.
 :: Materials ::
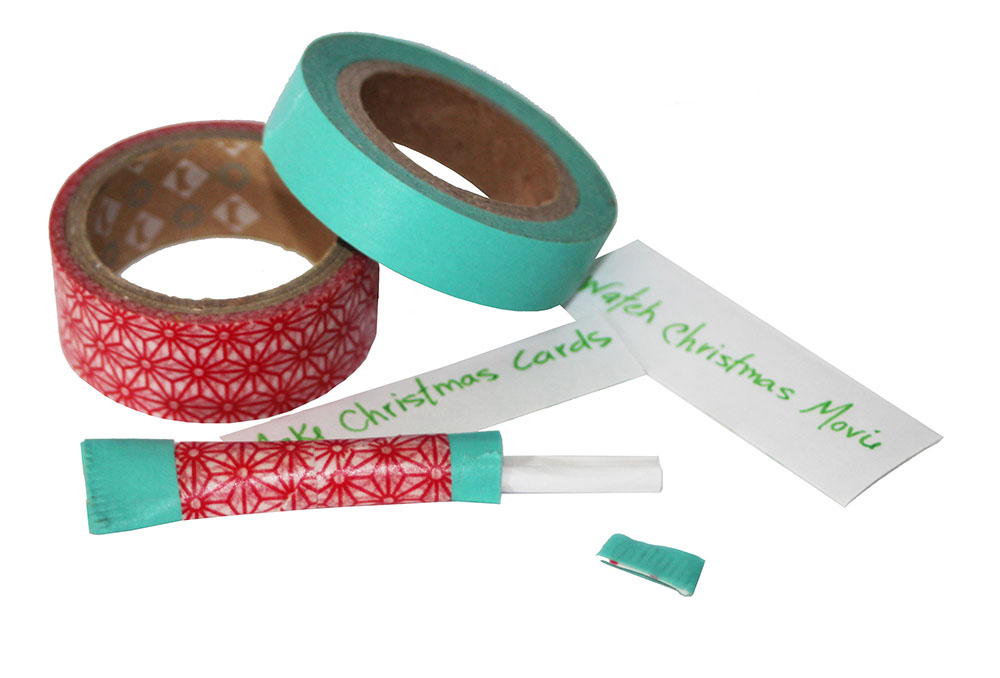
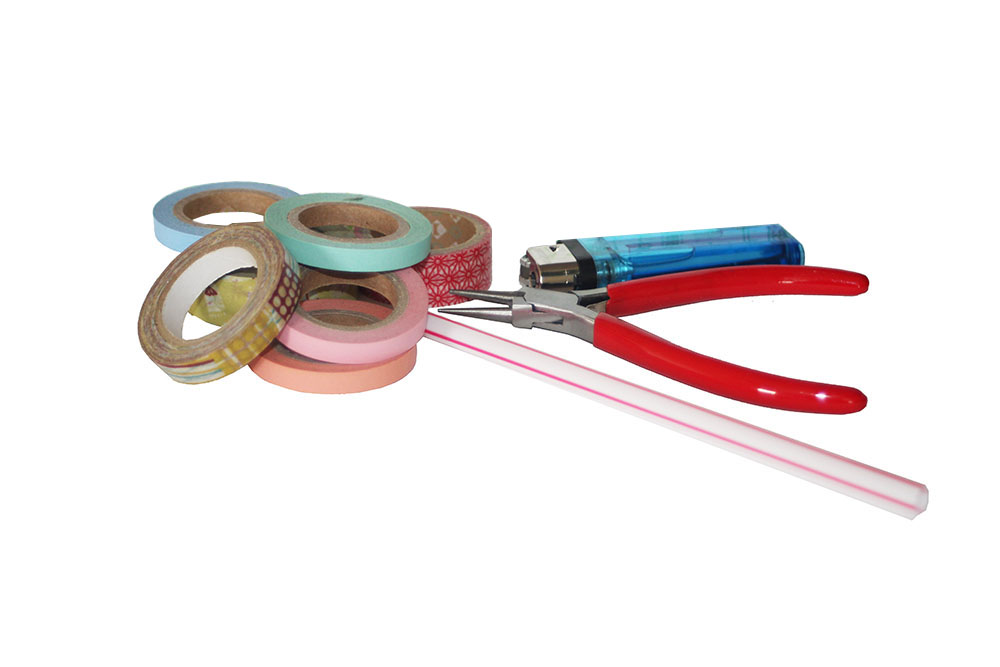
* Advent notes * Washi Tape * Plastic straws * Pliers * Lighter *

1. The first step is to seal one end of the plastic drinking straw. To do this, hold the tip of the straw shut using the pliers. There should be a small of amount of straw sticking out of the pliers. This is the section that is going to be melted. Hold the straw tip to a flame until the end is melted down to the pliers and sealed shut.
2. Write out the messages and activities that you want to open each day of advent onto strips of paper. Roll these up tightly and secure them with washi tape. Cut the sealed drinking straw so that it is slightly larger than the note. *You can find a few of my favorite advent activities below.
3. Insert the note, and seal the other end of the drinking straw in the same way that the first end was sealed.
4. Cover each end of the straw with washi tape. Then continue to cover the rest of the straw until it is completely covered. You may want to use the pliers again to press down on the sealed ends to ensure that the washi tape is stuck down well and the ends are properly sealed.
To open each note, carefully cut off one of the sealed ends of the straw and pull out the message.
 My favorite advent activities:
* Drive around & look at Christmas lights on the “Minivan Express”
* Make a snow globe
* Unwrap & read a Christmas book each night. Here is a list of books with crafts!
* Make a sugar cube house
* Make garland and ornaments out of gumdrops, popcorn, Cinnamon sticks, orange slices and/or cranberries
Share with us your favorite Advent activities in the comments!


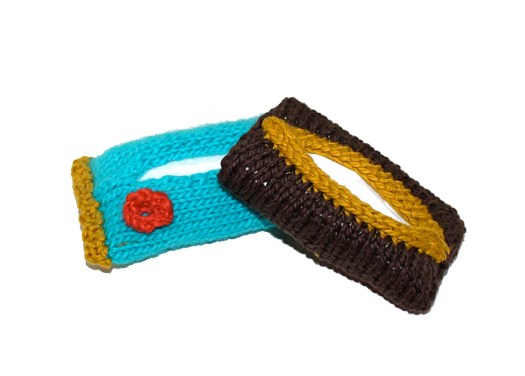
 As I was looking for some handmade stocking stuffer ideas on
 Switch to the main color (mc) yarn and knit in stockinette stitch for 6.5″ ending with a knit row.
 Bind off using an


 As I was looking for some handmade stocking stuffer ideas on